

Listing photos create the first impression of a Sperry home long before a buyer schedules a visit. A focused preparation plan can help each room feel brighter, more spacious, and easier to understand online—without requiring a major renovation. Start with the surfaces, sightlines, and small details that let the home’s strongest features take center stage.
Start With the Story Your Home Tells
Great listing photos do more than document rooms. They help buyers understand how a home flows, where daylight lands, and which features make the property memorable. Before the photographer arrives, walk through your Sperry home as if you are seeing it for the first time online. Notice what catches your eye first in each room, what interrupts the view, and where a little editing could make the space feel more intentional.

Begin outside. The exterior image is often the first photo a buyer sees, so the approach to the home deserves attention. Mow and edge the lawn, sweep porches and walkways, clear away hoses and lawn equipment, and remove vehicles from the driveway when possible. A simple refresh such as straightening outdoor furniture, replacing a faded welcome mat, or adding a few healthy potted plants can make the entry feel cared for without distracting from the architecture.
Inside, the goal is not to make every room look empty. It is to make the room’s purpose instantly clear. A living room benefits from open pathways and balanced seating. In a bedroom, clear bedside surfaces and neatly made bedding help the eye rest. Kitchens photograph best when counters are mostly open, with only a few purposeful details left behind. Think of every surface as visual real estate: if it does not add warmth, scale, or function, it may be better stored away for photo day.
For online photos, clearing one extra item often has more impact than adding one more decorative item. Open floor area and visible countertops help rooms read clearly on a phone screen.
Pay special attention to personal items. Family photos, highly specific collections, pet supplies, magnets, paperwork, and everyday toiletries can pull attention away from the home itself. Packing these items early is practical preparation for a future move and gives each photo a more polished, broadly appealing presentation. Keep a small basket or tote available so last-minute items can be quickly gathered before the appointment.
Make Light and Space Work Harder
Light is one of the most valuable features a listing photo can capture. In the days before photography, replace burned-out bulbs and aim for consistent bulb temperatures within a room. Daylight-style or warm-white bulbs can both work well, but mixing several very different colors may create an uneven appearance. Clean windows, mirrors, glass doors, and light fixtures so they reflect light rather than dust or streaks.
On photo day, open curtains and blinds unless a view calls for a different approach. Pull window treatments fully to the sides where possible, rather than leaving them halfway across the glass. A clear view of the yard, porch, mature trees, or open sky can make a room feel connected to its surroundings. If a window faces strong direct sun, your photographer may adjust the treatment or lighting to balance the exposure.
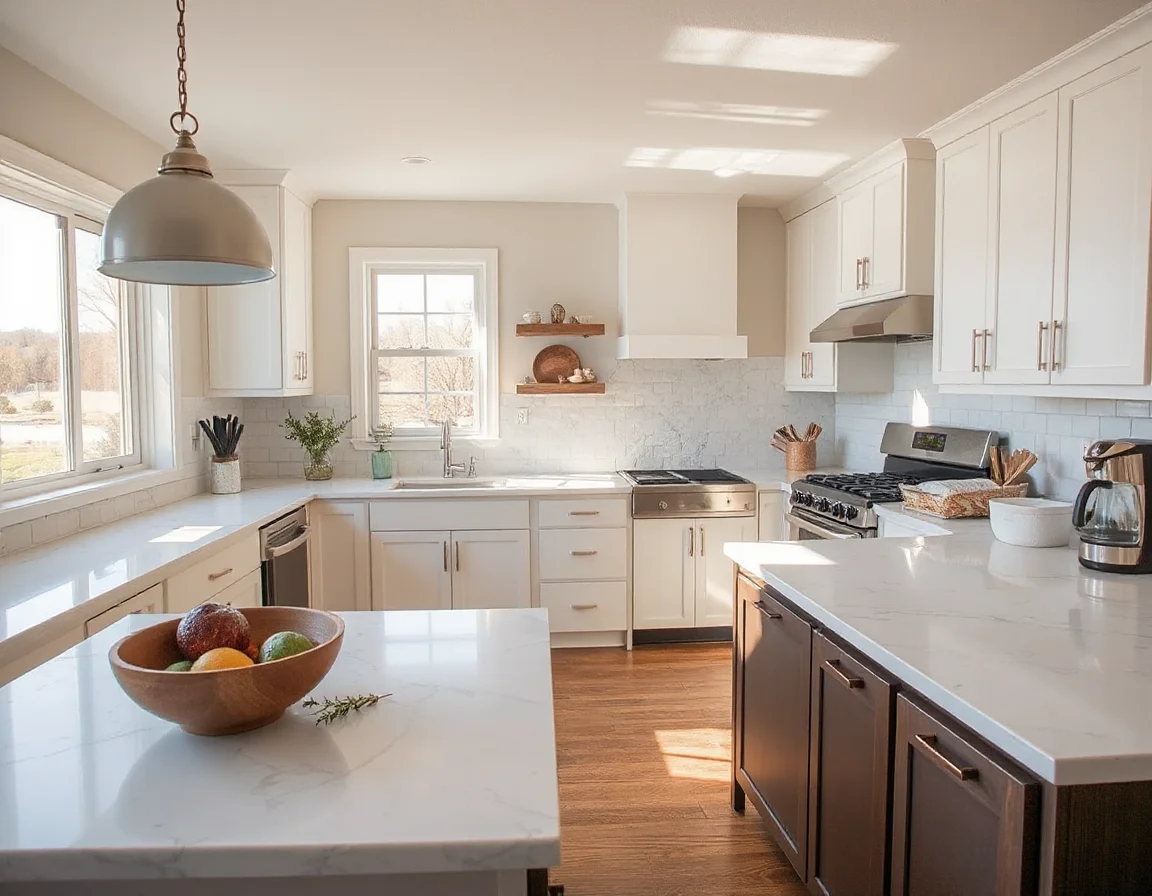
Mirrors can be useful, but they need a quick check before the camera comes out. Wipe them thoroughly and look for reflections of cords, clutter, open doors, or people who may be standing nearby. The same principle applies to televisions: a dark, clean screen generally photographs better than a screen showing a paused program, a menu, or bright changing imagery.
Space becomes more visible when furniture is arranged for circulation. Consider removing an extra chair, side table, storage bin, or floor lamp if it makes the room feel crowded. This is especially helpful in smaller living areas, secondary bedrooms, laundry rooms, and entry spaces. You do not need to purchase new furniture to improve the result; often, moving a few pieces into storage creates the visual breathing room that photographs need.
Closets and cabinets may be photographed selectively, particularly when storage is an important feature. Straighten shelves, reduce overfilled hanging rods, and place loose items in matching bins or drawers. Buyers understand that homes are lived in, but organized storage helps them see the usable capacity rather than the current contents.
Aim to prepare photo-day spaces the evening before. A calmer morning leaves time for final tasks such as opening blinds, turning on lamps, and checking counters for overlooked daily items.
Focus on the Rooms Buyers Notice Most
The kitchen, main living area, primary bedroom, bathrooms, and exterior usually deserve the most detailed preparation. In the kitchen, remove dish racks, small appliances, cleaning products, mail, and countertop containers that create visual noise. A bowl of fresh fruit, a small plant, or a neatly folded towel can add a finished touch, but restraint is useful. Clear counters make cabinetry, workspace, and finishes easier to see.
Bathrooms benefit from an especially thorough reset. Put away toothbrushes, medications, hair tools, tissue boxes, bath products, and used towels. Close the toilet lid, wipe faucets and shower glass, and use clean towels in a simple color palette. If there is a shower curtain with a bold pattern or visible wear, a neutral replacement can make the room appear more cohesive in photos.
For bedrooms, smooth bedding, clear floors, and simplify furniture tops. Under-bed storage, laundry baskets, charging cords, and oversized personal items can become surprisingly noticeable in a still image. If a room serves several purposes, decide which use is most helpful to show. A multipurpose room can be photographed as an office, hobby room, exercise area, or guest space, but it will generally photograph better when one main purpose is visually dominant.
Do not overlook utility areas. A laundry room, garage, mudroom, pantry, or storage building may be a valuable part of the property’s story. Sweep floors, group supplies, coil hoses, and remove items that are not staying with the home. These spaces do not need elaborate décor; they simply need to look functional, clean, and easy to evaluate.
Plan for a Smooth Photo Appointment
Once the main preparation is complete, create a short photo-day checklist. Turn on interior lights, ceiling fans off, open window treatments, place trash bins out of sight, and make sure all beds are made. Move pet items and arrange for pets to be elsewhere during the shoot when practical; this keeps the appointment moving smoothly and avoids distractions in the images. Also check that exterior gates are accessible and that any special home features—such as a fireplace, patio, workshop, garden, or outbuilding—are ready to be shown.
Weather may influence the order of exterior and interior photography, so flexibility helps. A bright day can enhance curb appeal and natural light, while an overcast day can still produce attractive, even images. The preparation work remains worthwhile in either condition because clean lines, open sightlines, and well-maintained surfaces photograph well in every season.
Most importantly, focus your energy where it will be seen. Freshly cleaned windows, a tidy entry, clear kitchen counters, bright bathrooms, and uncluttered living spaces can have a stronger visual impact than a long list of costly upgrades. Thoughtful preparation gives the photographer more opportunities to capture the home’s best angles and gives buyers a clearer reason to take the next step from the listing screen to an in-person showing.